Mastering Xactimate Sketching: Tips for Accurate Floor Plans Every Time
Ever wondered why some insurance claims go smoothly while others get stuck in revisions? It often comes down to the floor plan sketches. These sketches are key to every estimate.
In the fast world of insurance claims, being precise is a must. Accurate floor plans affect claim settlements, customer happiness, and your reputation. A tiny mistake can lead to big problems, wasting time and money.
This guide will show you proven techniques for making precise floor plans. It’s perfect for beginners or those looking to get better. You’ll learn how to turn complex layouts into clear, professional diagrams step by step.
Insurance pros who are great at sketching give better estimates and win over clients. By using the tips in this guide, you’ll make your work faster and more accurate. You’ll handle even the toughest structural challenges with ease.
The Fundamentals of Xactimate Sketching
Xactimate sketching is key to handling insurance claims well. It turns real spaces into exact digital copies. This skill is vital in the leading insurance estimating software for adjusters to make fair claims.
Xactimate’s sketching module is like a digital measuring tape, calculator, and drafting tool. It helps avoid mistakes and ensures consistent estimates across the industry.

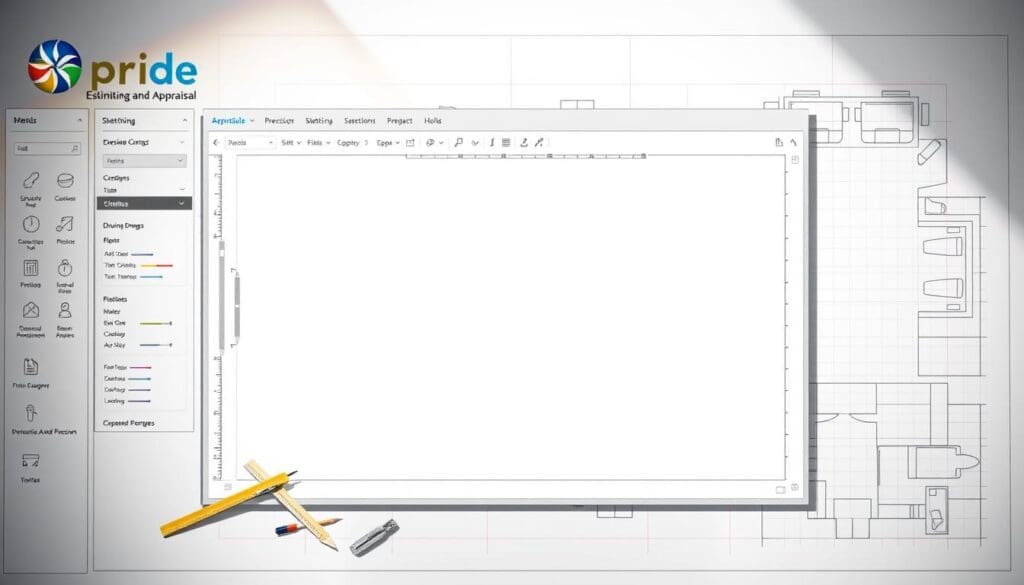
The sketching interface has important tools for adjusters to learn. You can draw walls, rooms, and more with precision. It also has tools for measuring and navigating through complex plans.
Getting scale and proportion right is critical. A small error can lead to big mistakes in estimating materials. That’s why xactimate sketch training stresses the need to double-check measurements.
Many think sketching is just the first step. But it’s the base of the entire estimate. The software uses your sketch to calculate material needs.
| Basic Tool | Function | When to Use | Common Pitfall |
|---|---|---|---|
| Wall Tool | Creates exterior and interior walls | Initial room layout | Incorrect wall thickness settings |
| Room Tool | Defines enclosed spaces | After creating wall perimeters | Failing to close room completely |
| Dimension Tool | Sets precise measurements | Throughout sketching process | Typing incorrect values |
| Roof Tool | Creates roof structures | After completing floor layout | Incorrect pitch specifications |
At first, Xactimate sketching might seem hard. But with practice, you’ll get better. Each sketch you do makes you more skilled. This effort will make your estimates more accurate and solid.
Setting Up for Success: Preparation Before Sketching
Getting ready for Xactimate sketches is key. It starts with thorough field prep and data collection. Insurance pros who prepare well get more accurate estimates and need fewer changes.
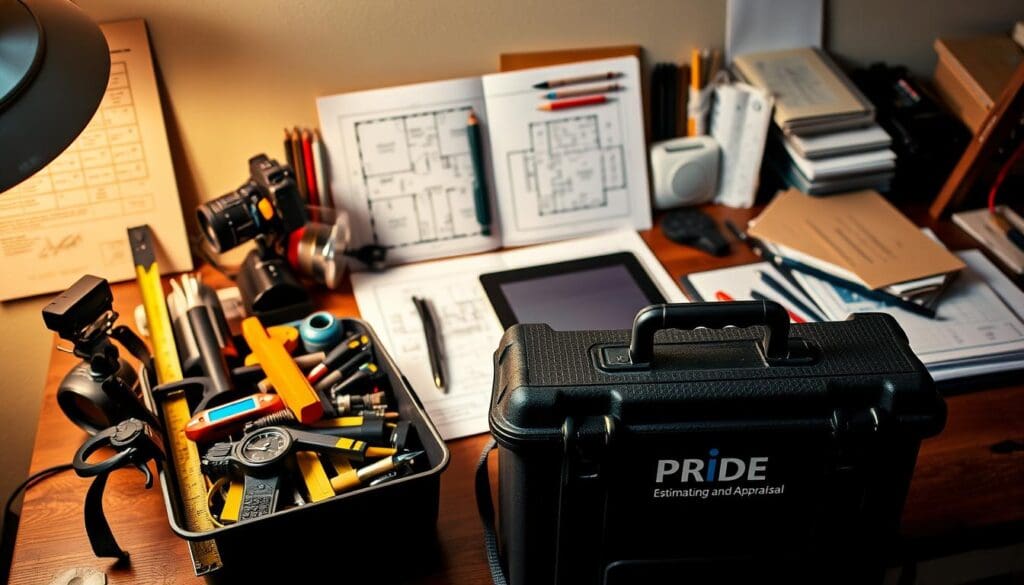
Start with the right tools for property damage assessment. You’ll need a laser measuring device, a tape measure, a high-res digital camera, and pens and paper. These tools help you get all the measurements and details right.

When measuring a property, follow a pattern. Start at the front door and go clockwise in each room. This way, you won’t miss any spots and your measurements will fit well in Xactimate. For tricky areas, break them into simple shapes for accuracy.
Photos are very important. Take pictures of every wall, ceiling, floor, and any damage from different angles. These photos will help a lot when you’re using Xactimate diagram tools later.
Organize your digital files before you start sketching. Make folders for each claim with subfolders for measurements, photos, and notes. This makes it easy to move from field work to digital sketches.
Good prep is worth it for better accuracy and speed. Many adjusters learn these prep tips in Xactimate training programs. These habits help you feel confident and ready with all the info you need.
Step-by-Step Guide to Mastering Xactimate Sketching
Creating perfect Xactimate sketches is a journey. It starts with breaking it down into simple steps. Even beginners can make professional floor plans with these steps, leading to accurate estimates.
First, start a new sketch file in Xactimate. Set up your project details. This includes claim info, property details, and the right price list for your area. Getting these settings right saves a lot of time later.
Then, draw the main outline of the structure. Start with the walls, focusing on the right dimensions. Getting this right is key for everything that comes next.
After the exterior, use the room-by-room method for interior walls. This makes it easier to make changes as you go. Define each room, choosing the right type from Xactimate’s menu for accurate material costs.
Add important structural elements like:
- Doors (standard, sliding, bifold, etc.)
- Windows with correct dimensions
- Staircases and elevation changes
- Built-in features like closets and cabinets
For buildings with multiple floors, sketch each floor separately. Use Xactimate’s tools to keep floors aligned, even with unique layouts.
Experienced adjusters use shortcuts to work faster. Learning Ctrl+D for duplicate and Ctrl+Z for undo boosts your efficiency without losing quality.
Before finishing your sketch, do these quality checks:
- Check all measurements against your field notes
- Make sure all rooms are defined and labeled
- Verify that doors and windows are the right size and place
- Ensure all levels are correct in multi-story buildings
Practice makes perfect. Every sketch you do gets you better and faster. With time, the room-by-room method becomes second nature. This lets you focus on making your workflow even more efficient.
Advanced Techniques for Complex Structures
Dealing with tricky structures and roofs needs better Xactimate skills. Basic shapes are easy, but real homes have complex designs. Learning these advanced methods makes you a top expert in damage checks.
Conquering Complex Roof Sketching
Roof sketches get tough with many sides and angles. Hip roofs need exact slope and length measurements. Gable roofs, though simple, can have dormers or different heights that make sketching harder.
Mansard roofs, with their double slopes, require Xactimate’s roof tools for precise drawing. For homes with mixed roofs, sketch each part carefully before combining them.
Steep roofs need accurate pitch notes for material costs. Xactimate lets you set different pitches for each roof part. This ensures correct costs for shingles, underlayment, and work.
Tackling Irregular Structural Elements
Bay windows are a common problem. Start with the main structure, then add the bay window. For curved walls, use Xactimate’s arc tool for accurate drawings.
Vaulted ceilings need precise height measurements. Use elevation tools for changing heights. For multi-level homes, make separate floor plans for each level.
Old homes have unique features that don’t fit standard sizes. Break these into simple shapes Xactimate can handle, then combine them for a true picture.
| Roof Type | Key Sketching Challenges | Recommended Xactimate Tools | Documentation Tips |
|---|---|---|---|
| Hip Roof | Multiple slopes meeting at ridge | Roof pitch tool, ridge line tool | Note measurements for each facet |
| Gable Roof | Dormers, varying heights | Height modifier, dormer tool | Document pitch changes at transitions |
| Mansard Roof | Double slopes on each side | Multi-pitch tool, slope calculator | Photograph transition points between slopes |
| Complex Combination | Connecting different roof types | Section divider, valley tool | Create detailed notes for each junction |
Include detailed notes in your sketch file for any special features. This helps others understand your work and is useful for future checks.
With practice and these advanced techniques, even tough properties are easy in Xactimate. Each complex structure you master boosts your skills and confidence in damage assessments.
Customization and Optimization for Professional Results
To make your Xactimate sketches stand out, focus on customization and workflow optimization. Top insurance pros create systems that show their skills and keep things accurate.
Begin by setting up your workspace to fit your workflow. Make templates for common property types like homes or buildings. These templates save a lot of time on new projects.
Use the same labels for rooms, structures, and damage spots. This makes your sketches easy to follow and clear for others. It also cuts down on mistakes.
Xactimate has many symbols, but you can also make your own. Use them for local architectural features or common elements. This makes your work unique and more accurate.
Make your work faster by using shortcuts and macros. These tools help you spend more time on the hard parts of a project. They save you from doing the same thing over and over.
Learn to group and copy elements to avoid redrawing them. This saves time and keeps your sketches consistent. For those new to Xactimate, a day-by-day learning plan can help you improve step by step.
These accurate sketching techniques show how to go from basic to expert. By customizing your work, you’ll have a unique style that stands out. It will also keep your estimates precise.
Elevating Your Insurance Estimating Workflow with Precise Sketches
Accurate sketches are key to successful insurance claims. Learning Xactimate sketching turns measurements into visual tools. These diagrams affect material counts, line item choices, and final payouts.
When your sketches link up with insurance estimating software, magic happens. A good floor plan fills in material amounts, saving time and avoiding mistakes. This makes your workflow smoother, letting you handle more claims accurately.
Professional sketches also win trust from everyone in a claim. Clear diagrams show your expertise and detail. They act as permanent records, avoiding disputes and showing the work’s scope.
The Xactimate diagram tools you’ve learned are more than just for pretty pictures. They lay the groundwork for fair settlements. Using these skills well makes you a reliable professional.
As you get better at sketching, it becomes easier. The effort you put into learning pays off. You’ll process claims faster, make fewer changes, and boost your reputation in the insurance world.
FAQ
Why is accurate sketching so important in Xactimate?
Accurate sketching is key for reliable insurance estimates. It affects claim settlements and customer satisfaction. Precise floor plans help with material calculations, fair pricing, and defendable documentation.
When a sketch accurately shows the property’s dimensions and features, the estimate reflects the true damage. This leads to faster approvals and fewer disputes in the claims process.
What tools should I bring to the field to ensure accurate measurements for my Xactimate sketches?
Bring a laser measuring device for quick, accurate long distances. Also, a traditional tape measure for areas where laser measurements are hard. A digital camera for photo documentation is essential.
Use a clipboard with graph paper for hand-drawn sketches. And a tablet or smartphone for digital notes and quick reference. This combination helps capture all necessary dimensions, no matter the property’s complexity.
How can I improve my efficiency when sketching in Xactimate?
Create templates for common property types to boost efficiency. Master keyboard shortcuts and use the copy and paste functions for similar rooms. Implement standardized labeling conventions.
Use the room-by-room sketching approach and develop a consistent workflow. Organize measurements logically before starting the sketch. This reduces errors and rework. With practice, these habits become second nature, saving time.
What’s the best approach for sketching complex roof structures in Xactimate?
Break down complex roofs into manageable sections. Use Xactimate’s specialized roof tools for different pitch values. Leverage the software’s ability to automatically calculate facets and intersections.
Start with the main roof sections before adding dormers, valleys, and other features. Verify your measurements and slopes. Small errors in roof sketches can lead to big discrepancies in material calculations. Take photos from multiple angles for reference during the sketching process.
How do I handle irregular or curved walls in my Xactimate sketches?
Use Xactimate’s polygon and arc tools for irregular or curved walls. For curved walls, place multiple points along the curve to approximate its shape. Or use the arc function with the proper radius measurement.
For irregular walls, the polygon tool allows you to place points at each angle change. This creates an accurate representation of non-rectangular spaces. Breaking complex curves into smaller segments often produces more accurate results than trying to create one perfect curve.
Can I create custom symbols for elements I frequently encounter in my region?
Yes! Xactimate allows users to create and save custom symbols for frequently encountered structural elements or regional architectural features. Use the Symbol Maker tool to design the element, save it to your personal library, and then access it whenever needed.
This customization saves time and ensures consistency across all your estimates. Many adjusters create region-specific symbols for architectural features common in their area but not included in the standard Xactimate library.
How do I ensure my measurements are accurate when transferring them to Xactimate?
Double-check all field measurements before entering them. Use the room validation feature to verify that walls connect properly. Regularly compare your sketch against property photos.
Utilize the dimension verification tool to confirm that the sketch matches your field notes. It’s also helpful to periodically calculate the total square footage and compare it to known property information. Creating a systematic approach to recording and transferring measurements significantly reduces errors and builds confidence in your sketching accuracy.
What’s the best way to handle multiple floors in an Xactimate sketch?
Create each level separately using the floor selection tools. Maintain consistent orientation between floors. Use reference points to ensure proper alignment.
Verify that staircases and other vertical elements connect logically. It’s often helpful to complete one floor entirely before moving to the next. Use the first floor as a template when appropriate. The floor-by-floor approach allows for greater precision and makes it easier to make modifications without affecting the entire structure.
How can I use Xactimate sketches to improve communication with policyholders?
Xactimate sketches serve as powerful visual aids when explaining the scope of damage and planned repairs to policyholders. Use the sketch during conversations to walk through affected areas. Print copies for the policyholder to reference.
Highlight damaged sections with different colors. Include the sketch in formal documentation. Professional, accurate sketches demonstrate thoroughness and attention to detail, which builds trust with policyholders and helps them understand how their claim settlement was calculated.
What are the most common mistakes beginners make when sketching in Xactimate?
Common beginner mistakes include rushing through measurements without verification. Failing to account for wall thickness. Neglecting to properly align multiple floors.
Overlooking irregular features, using incorrect roof pitch values, and not utilizing the room-by-room approach are also common. Many new users struggle with properly scaling their sketches or forget to include important structural elements like doors and windows. Taking the time to master the fundamentals and developing a methodical approach to sketching will help avoid these pitfalls and build confidence in creating accurate floor plans.
How do I optimize my Xactimate sketch for roof estimating?
For optimal roof sketching, accurately measure and input all pitch values. Use aerial imagery when available for verification. Properly define all roof features, including ridges, valleys, and penetrations.
Utilize the roof dimension verification tools. The 3D view can be helpful for visualizing complex roof structures and identifying errors. Remember that roof sketches directly impact material calculations, so precision is key. Many professionals find that creating the roof sketch as a separate step after completing the main structure leads to more accurate results.
